How to Master Home Improvement in 29 Days: Your Ultimate Guide to a Total Transformation

“`html
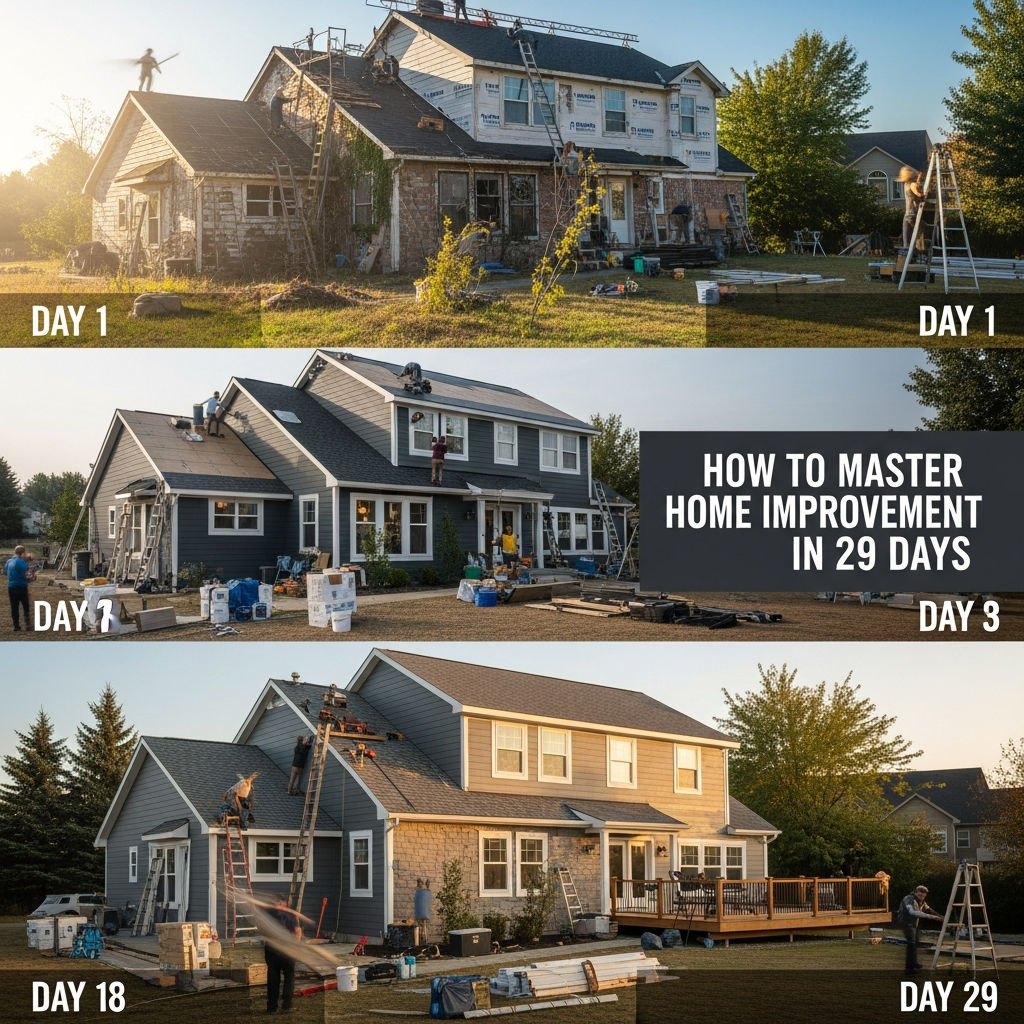
How to Master Home Improvement in 29 Days: Your Ultimate Guide to a Total Transformation
Many homeowners dream of a total property transformation but are often paralyzed by the perceived cost and timeline. What if you could bridge the gap between “dilapidated” and “dream home” in less than a month? Mastering home improvement isn’t about becoming a licensed contractor overnight; it’s about understanding the synergy between aesthetics, functionality, and sweat equity.
In this comprehensive 29-day roadmap, we will break down the essential skills, high-impact projects, and strategic planning required to elevate your living space. Whether you’re looking to increase your property’s resale value or simply want to enjoy your sanctuary more, this guide provides the blueprint for success.
Week 1: The Foundation of DIY Mastery
The first seven days are dedicated to assessment, planning, and the “invisible” repairs that ensure your home runs smoothly. Without a solid foundation, cosmetic upgrades are merely masking deeper issues.
- Day 1-2: The Home Audit & Budgeting. Walk through every room with a notebook. Check for leaks, cracks, and outdated fixtures. Set a realistic budget, earmarking 10% for unexpected contingencies.
- Day 3: Building the Ultimate Tool Kit. You cannot master home improvement without the right gear. Invest in a high-quality cordless drill, a level, a miter saw, and a versatile set of hand tools.
- Day 4-5: Patching and Prepping. Learn the art of drywall repair. Use spackle and sandpaper to eliminate dents and “nail pops.” This stage is messy but essential for a professional finish later.
- Day 6-7: Basic Plumbing and Electrical Safety. Replace leaky faucets and swap out old, beige outlet covers for modern white ones. Always turn off the breaker before touching any wiring.
Week 2: The Power of Paint and Lighting
Visual impact peaks in the second week. Painting and lighting are the two most cost-effective ways to change the “vibe” of a home. If you master these, you’ve mastered 50% of interior design.
Mastering the Perfect Paint Job
Painting is more than just rolling color onto a wall. Professional-grade results require a specific sequence of actions. Start by cleaning the walls to remove oils and dust. Use high-quality painter’s tape to protect your trim, but remove it while the paint is still slightly tacky to prevent peeling.
Don’t stop at the walls. Day 10 should be dedicated to your trim and baseboards. A crisp, semi-gloss white on the trim creates a frame for your wall color, making the entire room look brand new. For a modern touch, consider painting your interior doors a bold charcoal or navy blue.
Lighting as an Architectural Tool
On Days 12-14, focus on your “lighting layers.” A room should have three types of light: ambient (general), task (functional), and accent (mood). Swap out dated “boob lights” for modern flush mounts or recessed lighting. Install dimmer switches to give you total control over the atmosphere. These small electrical upgrades provide one of the highest returns on investment (ROI) in home improvement.
Week 3: Kitchen and Bathroom “Mini-Movers”
The kitchen and bathroom are the most expensive rooms to renovate fully, but they can be mastered through strategic “mini-renovations” that don’t require a demolition crew.
- Day 15-17: Cabinet Refacing. You don’t need new cabinets; you need new hardware. Swapping old brass handles for matte black or brushed nickel pulls can modernize a kitchen instantly. If the cabinets are truly dated, consider a specialized cabinet paint kit.
- Day 18-19: The Backsplash. A subway tile backsplash is a classic DIY project. If you’re intimidated by mortar and grout, modern “peel-and-stick” tiles offer high-end aesthetics with minimal technical difficulty.
- Day 20-21: Bathroom Refresh. Re-grout the shower and replace the showerhead with a rainfall model. Swap the vanity mirror for something framed and stylish. These changes make the space feel like a spa rather than a utility room.
Week 4: Curb Appeal and Finishing Touches
As you enter the final stretch, your focus shifts from the interior to the exterior and the “smart” features that define a modern home.
Boosting Curb Appeal
First impressions matter. Spend Days 22-24 outdoors. Power wash your siding and driveway—this alone can make a house look five years younger. Manicure the lawn, add fresh mulch to flower beds, and paint your front door a welcoming, vibrant color. Mastery of the exterior signals to the world (and potential buyers) that the home is well-maintained.
Smart Home Integration and Styling
On Days 25-27, bring your home into the 21st century. Install a smart thermostat to save on energy bills and a video doorbell for security. These “smart” upgrades are increasingly expected by modern homeowners.
The final two days of this week are for “staging.” Mastery isn’t just about the structure; it’s about the flow. Declutter ruthlessly. Use the “rule of three” when decorating shelves (grouping items in threes of varying heights). Hang curtains high and wide to make windows appear larger and ceilings appear taller.
Day 29: The Maintenance Mindset
On the final day of your 29-day journey, the goal is to shift from “renovation mode” to “maintenance mode.” Home improvement is not a one-time event; it is a lifestyle of stewardship. Create a digital folder containing all your warranties, paint color codes, and receipts.
Set a seasonal schedule for tasks like cleaning gutters, changing HVAC filters, and checking smoke detector batteries. By mastering the art of the “small fix,” you prevent the “big fail.”
Why 29 Days? The Psychology of Home Improvement
You might wonder why we suggest a 29-day timeframe. Behavioral science suggests that it takes approximately 21 to 30 days to form a new habit. By committing to a daily improvement task for nearly a month, you aren’t just fixing a house—you are training your brain to see potential where others see problems. You are developing the “DIY Eye.”
Common Pitfalls to Avoid
- Over-improving for the Neighborhood: Ensure your upgrades align with local property values if you plan to sell.
- Ignoring Permits: While most cosmetic work doesn’t require them, structural or major electrical work often does. Always check local regulations.
- Buying Cheap Materials: Mastery involves knowing where to save and where to splurge. Never skimp on paint or flooring; these take the most wear and tear.
Conclusion: Your Journey to Mastery
Mastering home improvement in 29 days is a rigorous but rewarding challenge. By breaking the process down into manageable weekly themes—Foundation, Aesthetics, Functional Rooms, and Finishing Touches—you remove the overwhelm that stops most people before they start.
Remember, your home is likely your largest financial asset. Every hour you spend learning a new skill or refining a room is an investment in your net worth and your quality of life. Start today, and in exactly 29 days, you won’t just be living in a better house—you’ll be a more capable, confident homeowner.
“`